Congrats on taking the first step to automatically sync your Shopify store with QuickBooks Desktop using MyWorks Sync! This doc will take you through the easy steps of setting up MyWorks for the first time and help you get started.
This doc will take you through the easy steps of setting up MyWorks for the first time and help you get started. Our guided video above is also helpful to visually walk through setting up and using MyWorks.
1. Add the MyWorks app
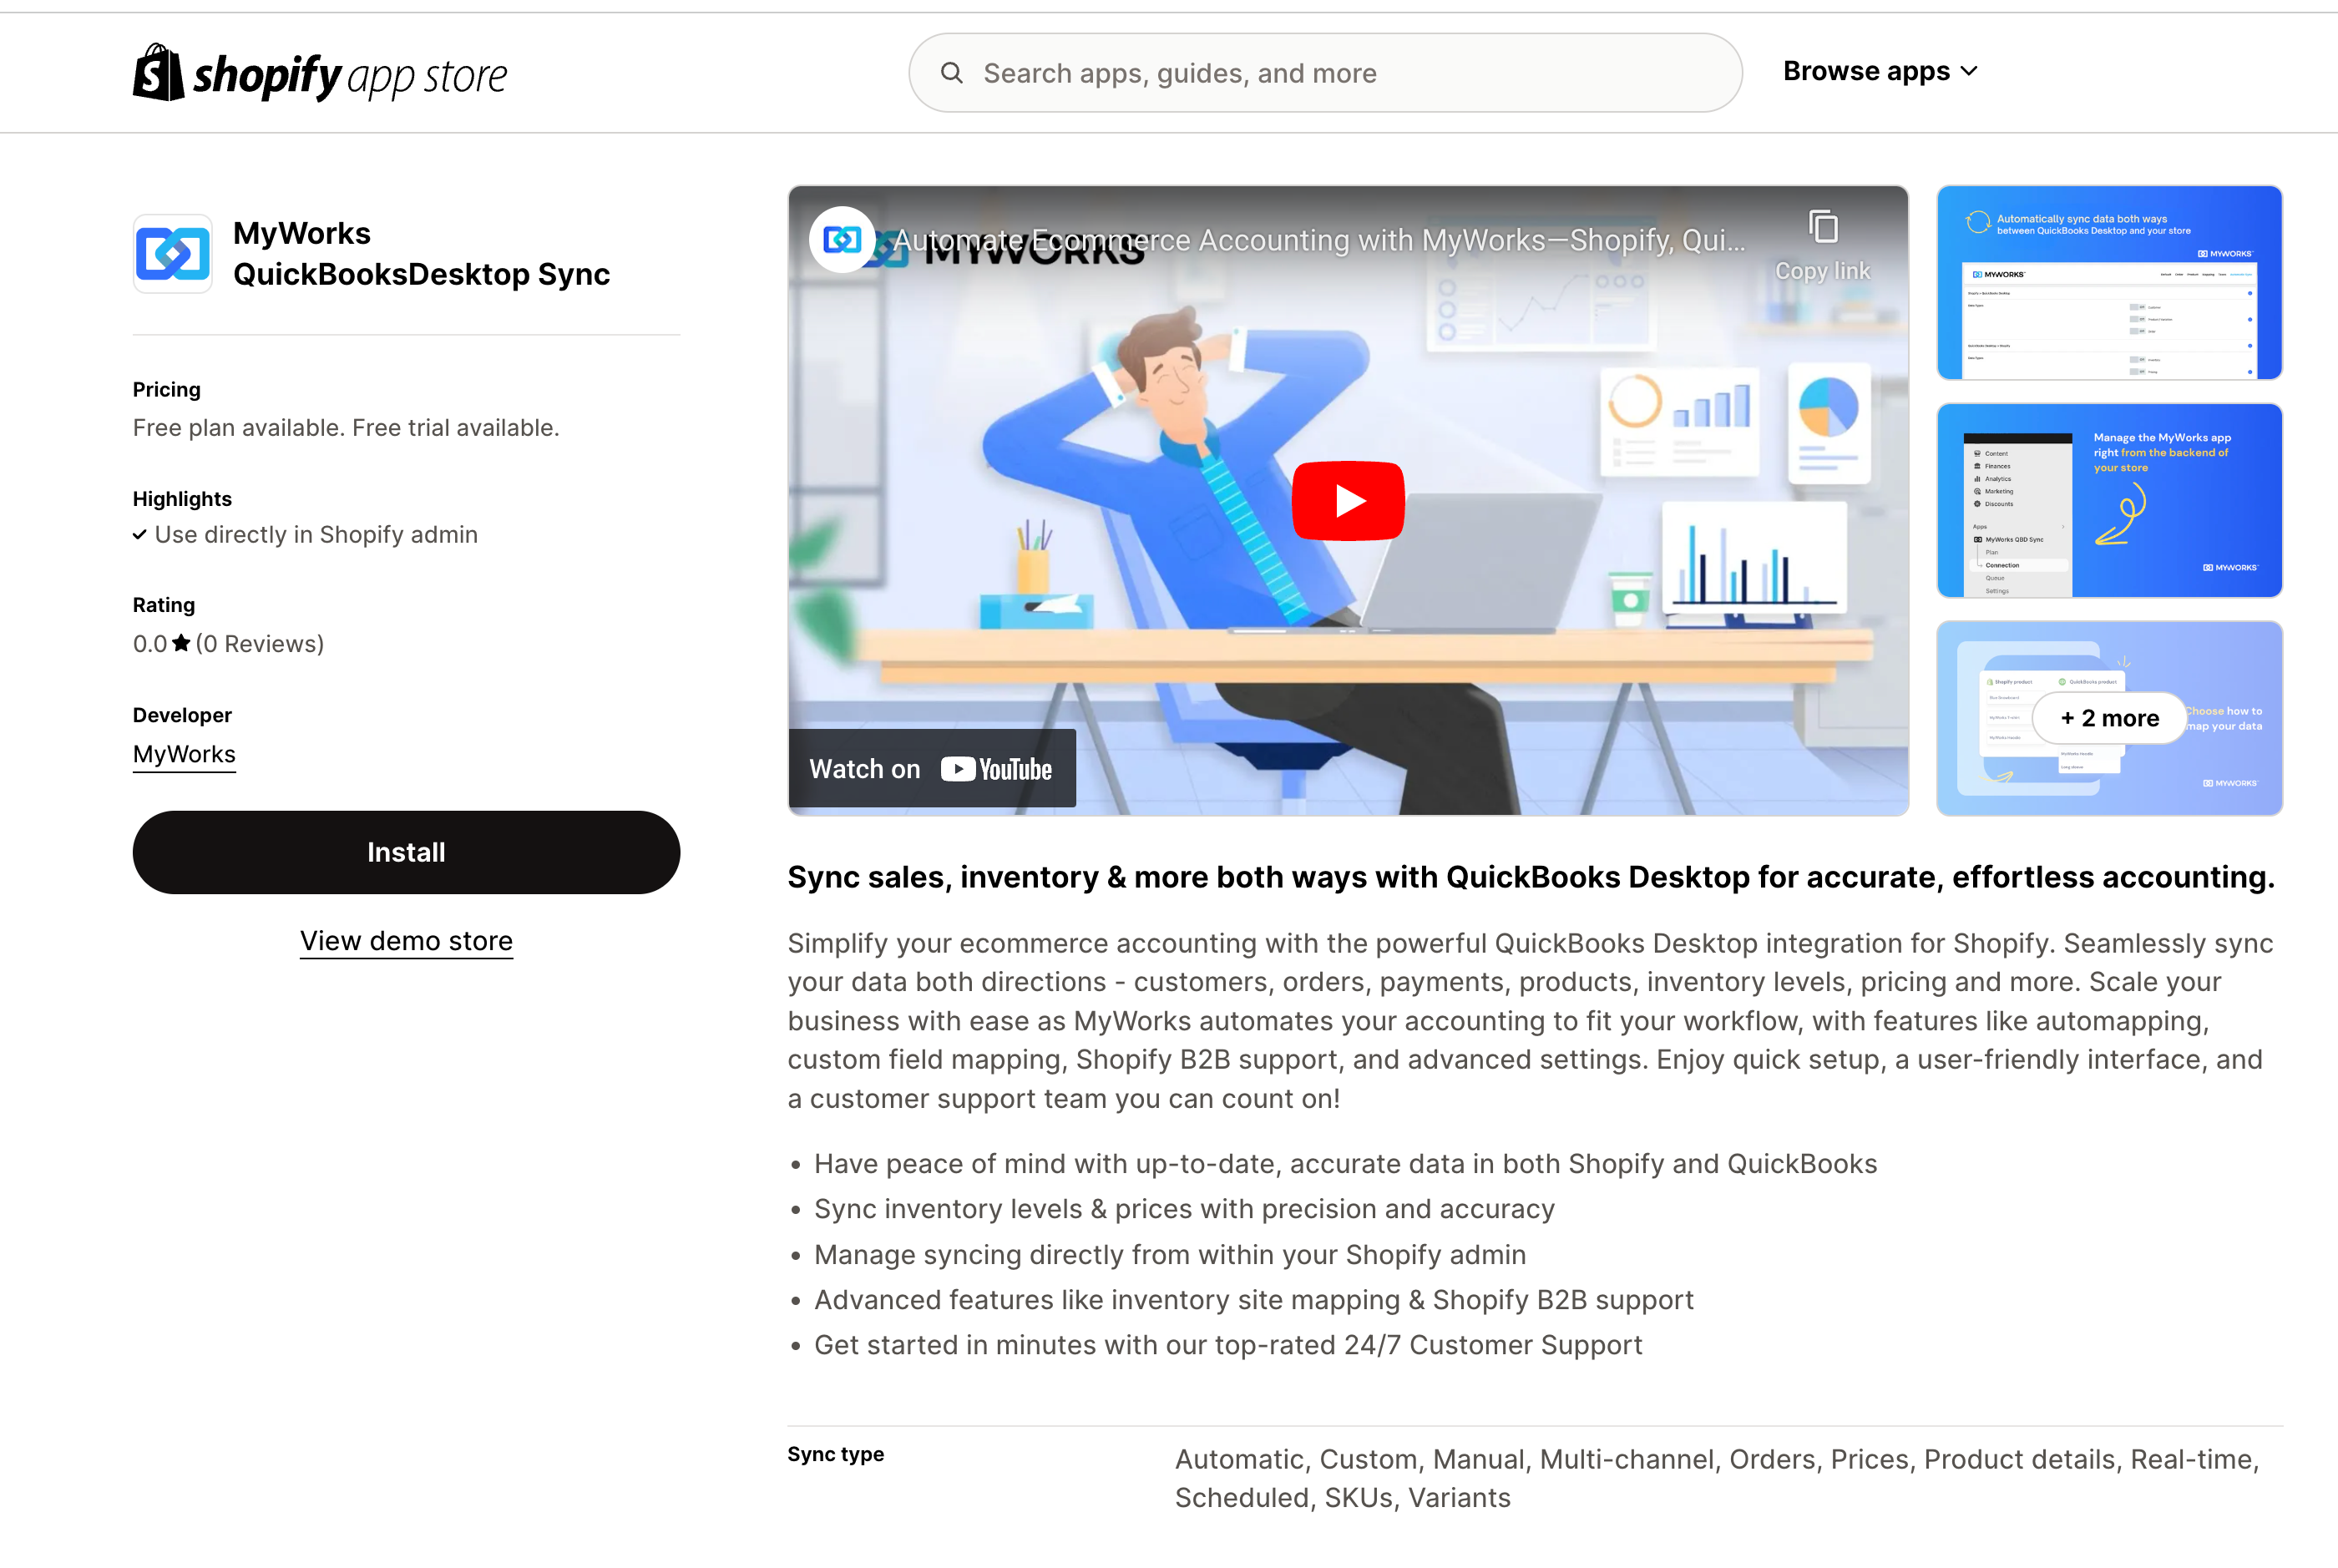
In your Shopify admin area or the Shopify app store, search for the MyWorks App for QuickBooks Desktop, and click Install. Since MyWorks supports syncing with both QuickBooks Online and Desktop, be sure to choose the correct app.

2. Connect to QuickBooks Desktop
Once added to your Shopify store, visit MyWorks Sync > Connection, and:
- Click the Download QuickBooks Connection File button.

- Open the resulting connection file on your QuickBooks Desktop computer, while first making sure:
- The QuickBooks Desktop company you're connecting with is open,
- You're logged in as the company admin user.
- You'll receive two popups: first confirming connecting to your Shopify store, and then to confirm connecting to your QuickBooks Desktop Company.

Then, to confirm connecting to your QuickBooks company. Normally, the third option: “Yes, whenever this QuickBooks company is open” is the most popular choice - as this allows the sync to connect to your QuickBooks company whenever it's open on this specific computer. The fourth option to allow access even if QuickBooks is not running is only needed if QuickBooks won't normally be open on this specific computer.

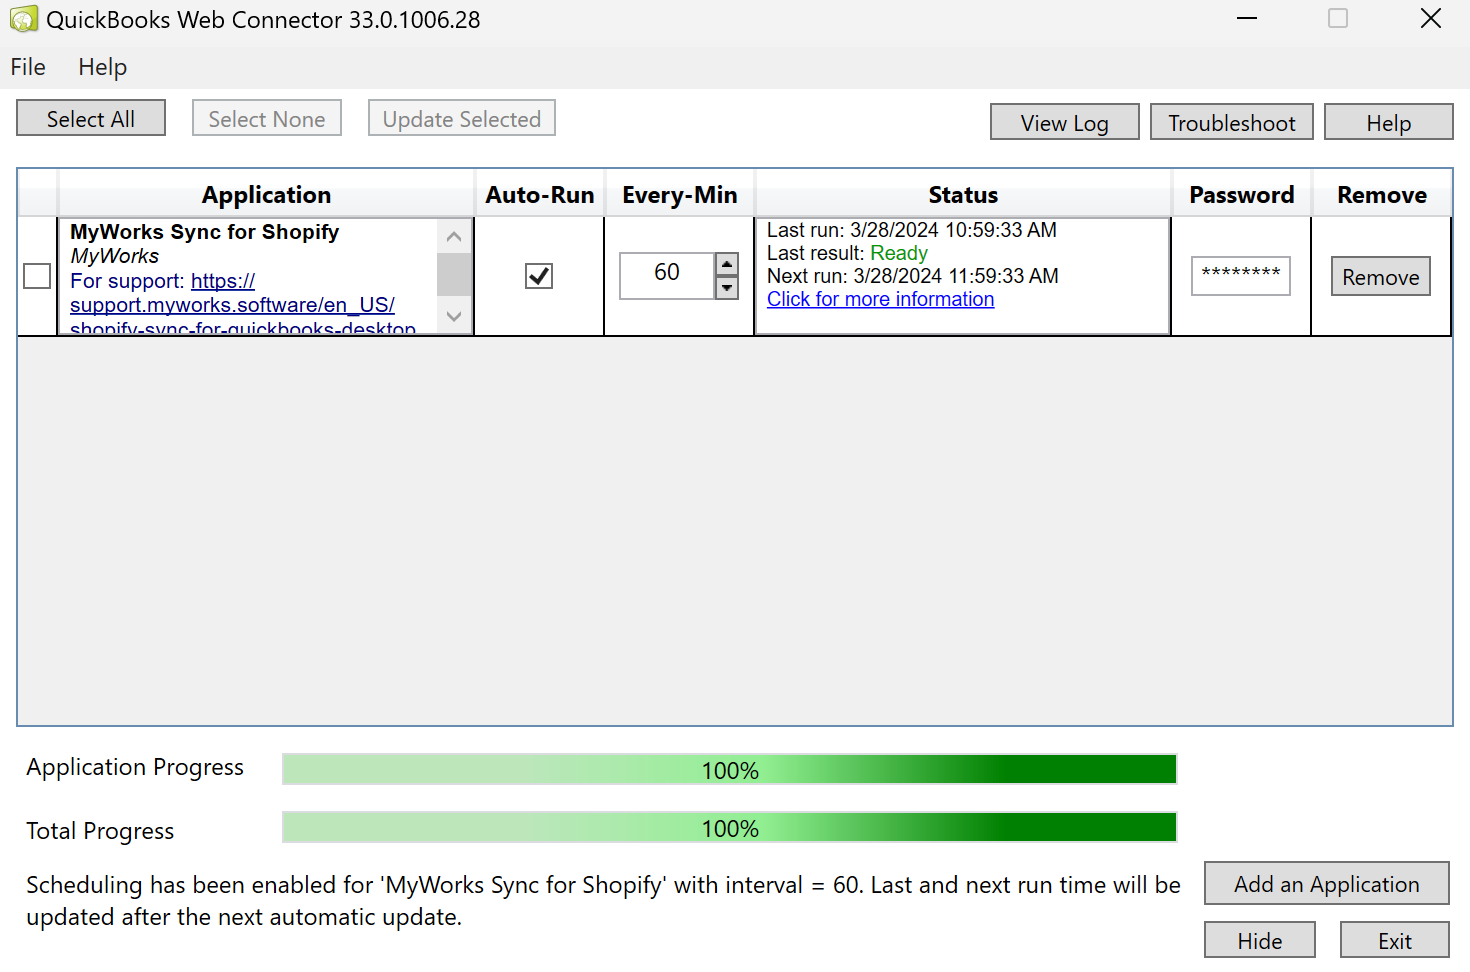
- Once complete, you'll see the QuickBooks Web Connector open, with MyWorks added as an app within it. Copy the “Web Connector Password” from MyWorks Sync > Connection in your Shopify store to the password field in the Web Connector.

3. Finish Setup
Now that you're connected to QuickBooks Desktop, there's a few final steps to complete to ensure MyWorks is ready to sync.
MyWorks Sync > Refresh Data
- Enable the switches on this page, then run the Web Connector once. This will allow MyWorks to recognize the current lists of data in your QuickBooks company.
MyWorks Sync > Settings
- Review the settings present here to ensure they're set to sync data the way you'd like. In the Automatic Sync menu, you can configure what new data MyWorks should sync - like orders, inventory levels, and more!
MyWorks Sync > Map
- Review your product, variation, and payment mappings to ensure your existing Shopify and QuickBooks products are correctly mapped together; and payments are set to sync to the desired account in QuickBooks.
4. Let's get syncing!
Now that you're connected to QuickBooks Desktop, MyWorks can begin syncing new data automatically - based on what you've enabled in MyWorks Sync > Settings > Automatic Sync. Here's a few helpful tips!
- In MyWorks Sync > Settings > Automatic Sync, you can configure what new data MyWorks should sync - like orders, inventory levels, and more!
- In MyWorks Sync >Settings > Order, you can configure how orders should be synced from Shopify into QuickBooks Desktop.
- In MyWorks Sync > Push > Orders, you can push recent Shopify orders into QuickBooks manually, if desired.
Managing Settings
You can control how MyWorks syncs, and what we sync; in the Settings menu under MyWorks.

Managing Mappings
You can further control how MyWorks syncs your data by mapping your products & variations in the Map menu under MyWorks.

Products & Variations
If your products are in both Shopify and QuickBooks, they should be mapped together here, so MyWorks can sync inventory from QuickBooks to Shopify for these products, and they can be correctly used in orders we sync.
Products can be mapped together in two ways:
- Manually: Selecting the matching QuickBooks product in the dropdown.
- Using our Automap tool: To automatically match together any products with a matching name or SKU.
Payment Methods
This area allows you to match your Shopify payment methods to a corresponding bank account in QuickBooks, ensuring that when a paid Shopify order is synced, we can sync the payment to the correct QuickBooks bank account.