
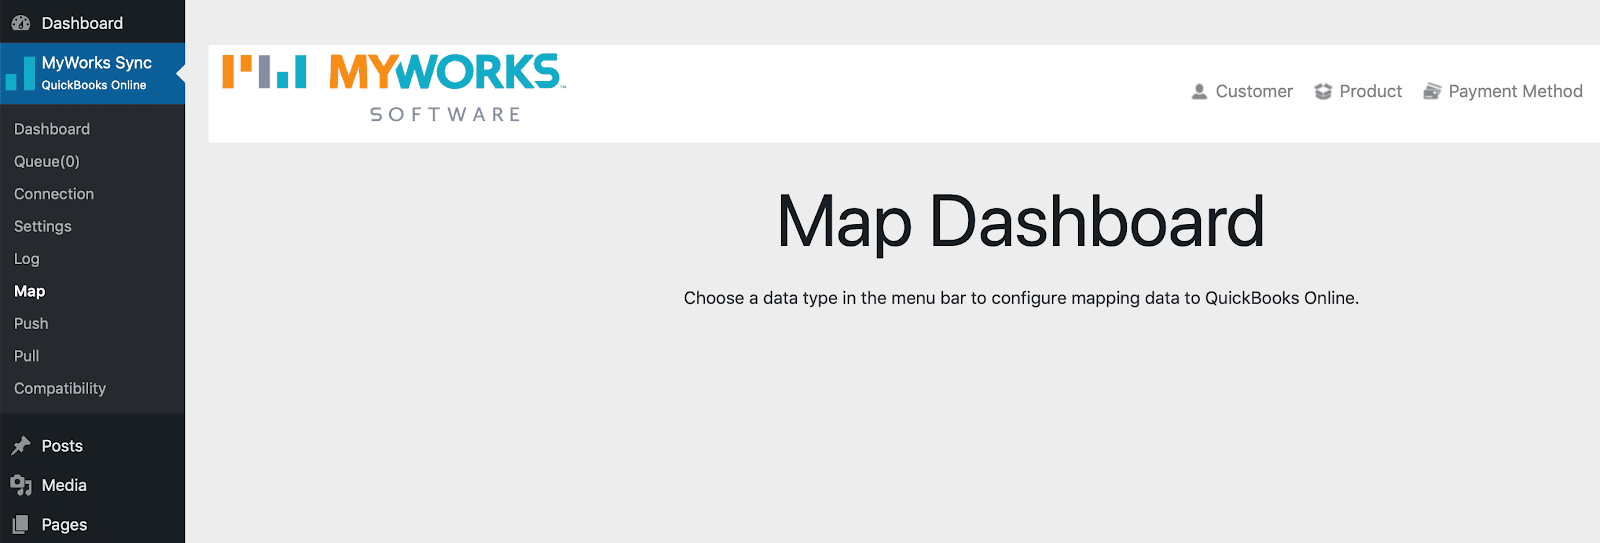
The mapping section of MyWorks Sync allows you to 'match' all of your data in WooCommerce to corresponding data in QuickBooks Online. Your mappings must be set after you install the sync and after connecting to QuickBooks Online, but before you can begin syncing. Your mappings can be changed at any time.
Customers
This page allows you to map existing WooCommerce customers to existing QuickBooks Online customers (optional).
It's not a requirement to map your existing customers! Since MyWorks always checks QuickBooks before syncing each order to see if a customer exists already in QuickBooks, it's only necessary to map customers if they are in both WooCommerce and QuickBooks AND do not have a matching email address or a matching name between them.
If a customer is already in WooCommerce and QuickBooks and has a matching email or name, they can be left unmapped, as we'd automatically find that existing customer in QuickBooks as we sync their next order.
When new customers are created in WooCommerce and successfully place orders on your site from this point forward, they will be automatically synced to QuickBooks Online AND mapped on this page.
Choose the Filter option to search for a specific customer, and use the dropdown on the top right to display 20 or more entries per page.
The table on the page shows WooCommerce customers on the left and QuickBooks Online customers in a dropdown on the right. If a dropdown on the right is blank, a customer is not mapped. If a customer is not mapped, the next time an order is placed under that customer, our sync will attempt to create the customer in QuickBooks Online, then sync the order over. If the customer already exists in QuickBooks Online but is not mapped on this page, an error will result.
To map your customers, choose a QuickBooks Online customer in the dropdown in the right column and select it. You can also search for a customer in the dropdown field. Then scroll to the bottom and click save.
Automapping
For companies with a lot of customers - individually mapping customers is not a viable solution. Using the Automap Customers button in the top right, you can automatically match together customers in both systems based on matching names, emails, or company names!
Products
This page allows you to map existing WooCommerce products to existing QuickBooks Online products. This should be done during setup and before syncing will be activated.
Only existing products will need to be mapped during setup. When new products are created in WooCommerce from this point forward, they will be automatically synced to QuickBooks Online AND mapped in this page - if you turn on Product syncing in our Automatic Sync Settings.
Choose the Filter option to search for a specific product, and use the dropdown on the top right to display 20 or more entries per page.
The table on the page shows WooCommerce products on the left and QuickBooks Online products in a dropdown on the right. If a dropdown on the right is blank, a product is not mapped. If a product is not mapped, when an order is placed or pushed with that product, the line item for that product will default to the Default for Unmatched Products set in Settings.
The column on the far right for QuickBooks Class represents class support. (Dynamically hidden if you don't use QuickBooks Classes)
To map your products, choose a QuickBooks Online product in the dropdown in the right column and select it. You can also search for a product in the dropdown field. Then scroll to the bottom and click save.
Automapping
For companies with a lot of products - individually mapping products is not a viable solution. Using the Automap Products button in the top right, you can automatically match together products in both systems based on a matching name or SKU.
Payment Methods
This page allows you to map & configure WooCommerce payment gateways for when orders are synced to QuickBooks Online.
This page is organized by Payment Gateway. Each payment gateway represents a row on the page, and for each currency you have enabled, a column will show with individual settings to configure the payment gateway for a specific currency. If you only have one currency enabled, only one column will be present.
Each gateway has a number of options to choose from, and these options are detailed below:
Enable Payment Syncing
This is the master setting to enable payment syncing for this gateway. If this option is off, payments made through this gateway will not be synced to QuickBooks Online.
QuickBooks Online Payment Method
Choose the payment method in QuickBooks Online that this gateway corresponds to. This is purely aesthetic, and you can add or modify payment methods in QuickBooks Online in Settings > All Lists > Payment Methods.
QuickBooks Online Bank Account
This is the bank account in QuickBooks Online that the payments made through this gateway will be synced to.
Enable Refund Syncing
Turn this option on if you would like to sync & record a refund to QuickBooks Online when you refund a customer in WooCommerce.
Enable Transaction Fee Syncing
Turn this option on if you would like to sync & record transaction fees to QuickBooks Online when a payment is synced. This will only work if the WooCommerce gateway records transaction fees in WooCommerce.
Enable Transaction Fee Refund Syncing
Turn this option on if you are syncing transaction fees, and would like to record a reversal of the transaction fee when a refund is synced.
QuickBooks Online Expense Account
Choose your Expense account in QuickBooks Online that records Transaction Fees. This is the account that transaction fees will be recorded to if you have Transaction Fee Syncing turned on.
Batch Support
Please see our separate article on Batch Support to read more about what Batch Support does.
Batch Payment Holding Account
Per the Batch Support overview above, this should be set to Undeposited Funds.
Transaction Fees Vendor
Choose the QuickBooks Online Vendor that Transaction Fee expenses will be recorded under - if Batch Support is enabled.
Lump Weekend Batches
Turn this option on to skip making a batch deposit on Saturday and make a batch deposit on Sunday that includes both Saturday and Sunday, if your processor doesn't batch each weekend day separately.
Terms Mapping
If you wish to specify a specific Term to an invoice or sales receipt that's synced over to QuickBooks Online through this payment gateway, this would be set here. Otherwise, the default is to leave blank.
Don't forget to scroll to the bottom of the page and Save!
Taxes
This page allows you to map WooCommerce tax rules to existing QuickBooks Online tax rules.
- If you do not have taxes set up in WooCommerce, this tab will not show up.
- If you are using Automated Sales Tax in QuickBooks, this tab will not show up, as all taxes will be calculated automatically.
The table on the page shows WooCommerce tax rules on the left and QuickBooks Online tax rules in a dropdown on the right. If a dropdown on the right is blank, it means a tax rule is not mapped. If a tax rule is not mapped, and an order is placed that includes that tax rule, an error will most likely occur.
Each row represents one tax rule. There is an extra row under each tax rule with a + sign. This represents support for Combined Tax Rates (most often used in Canada). In this row, you would choose a dual rate configured in your WooCommerce store and map this to the QuickBooks Online dual tax rate corresponding to this.
To map your tax rules, choose a QuickBooks Online tax rule in the dropdown in the right column and select it. Then scroll to the bottom and click save.
Shipping Methods
This page allows you to map existing WooCommerce shipping methods to existing QuickBooks Online products - that would represent this shipping charge in an Invoice or Sales Receipt line item. This should be done right after you activate the sync & connect to QuickBooks Online, and before syncing will be activated.
This tab will not appear if you have Shipping selected in your QuickBooks Online Account Settings, under Sales. This adds a subtotal field for shipping in your QuickBooks invoice or sales receipt, and this is where our integration would sync all shipping if this is turned on.
Choose the Filter option to search for a specific shipping method, and use the dropdown on the top right to display 20 or more entries per page.
The table on the page shows WooCommerce Shipping Methods on the left and QuickBooks Online Products in a dropdown on the right. If a dropdown on the right is blank, it means a Shipping Method is not mapped. If a Shipping Method is not mapped, the next time an order is placed that includes that Shipping Method, it will be synced using the default fallback Shipping Method you chose in settings.
The column on the far right for QuickBooks Class represents class support. If this dropdown is blank, you don't have class support enabled in QuickBooks Online and can safely ignore.
To map your Shipping Methods, simply choose a QuickBooks Online product in the dropdown in the right column and select it. You can also search for a product in the dropdown field. Then scroll to the bottom and click save.