Congrats on taking the first step to automatically sync your Shopify store with QuickBooks Online using MyWorks Sync! This doc will take you through the easy steps of setting up MyWorks for the first time and help you get started.
This doc will take you through the easy steps of setting up MyWorks for the first time and help you get started. Our guided video above is also helpful to visually walk through setting up and using MyWorks.
1. Add the MyWorks app
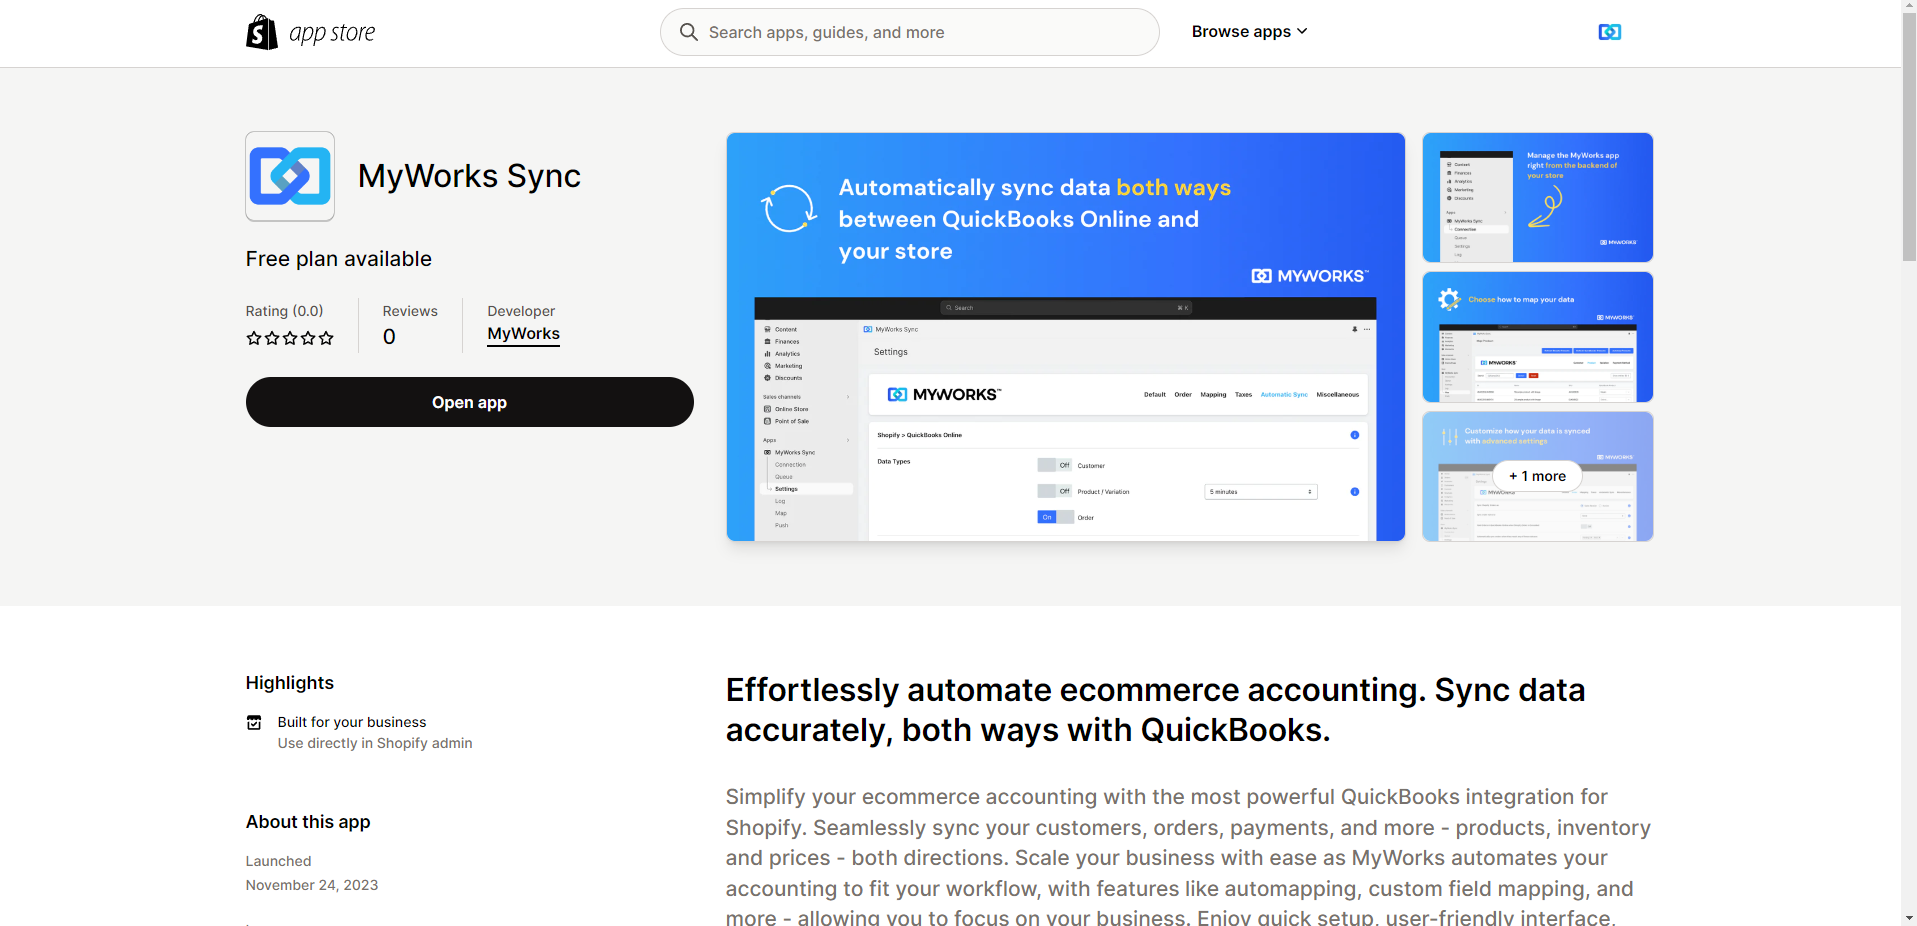
In your Shopify admin area or the Shopify app store, search for the MyWorks app and click Install within the MyWorks app.

2. Connect to QuickBooks
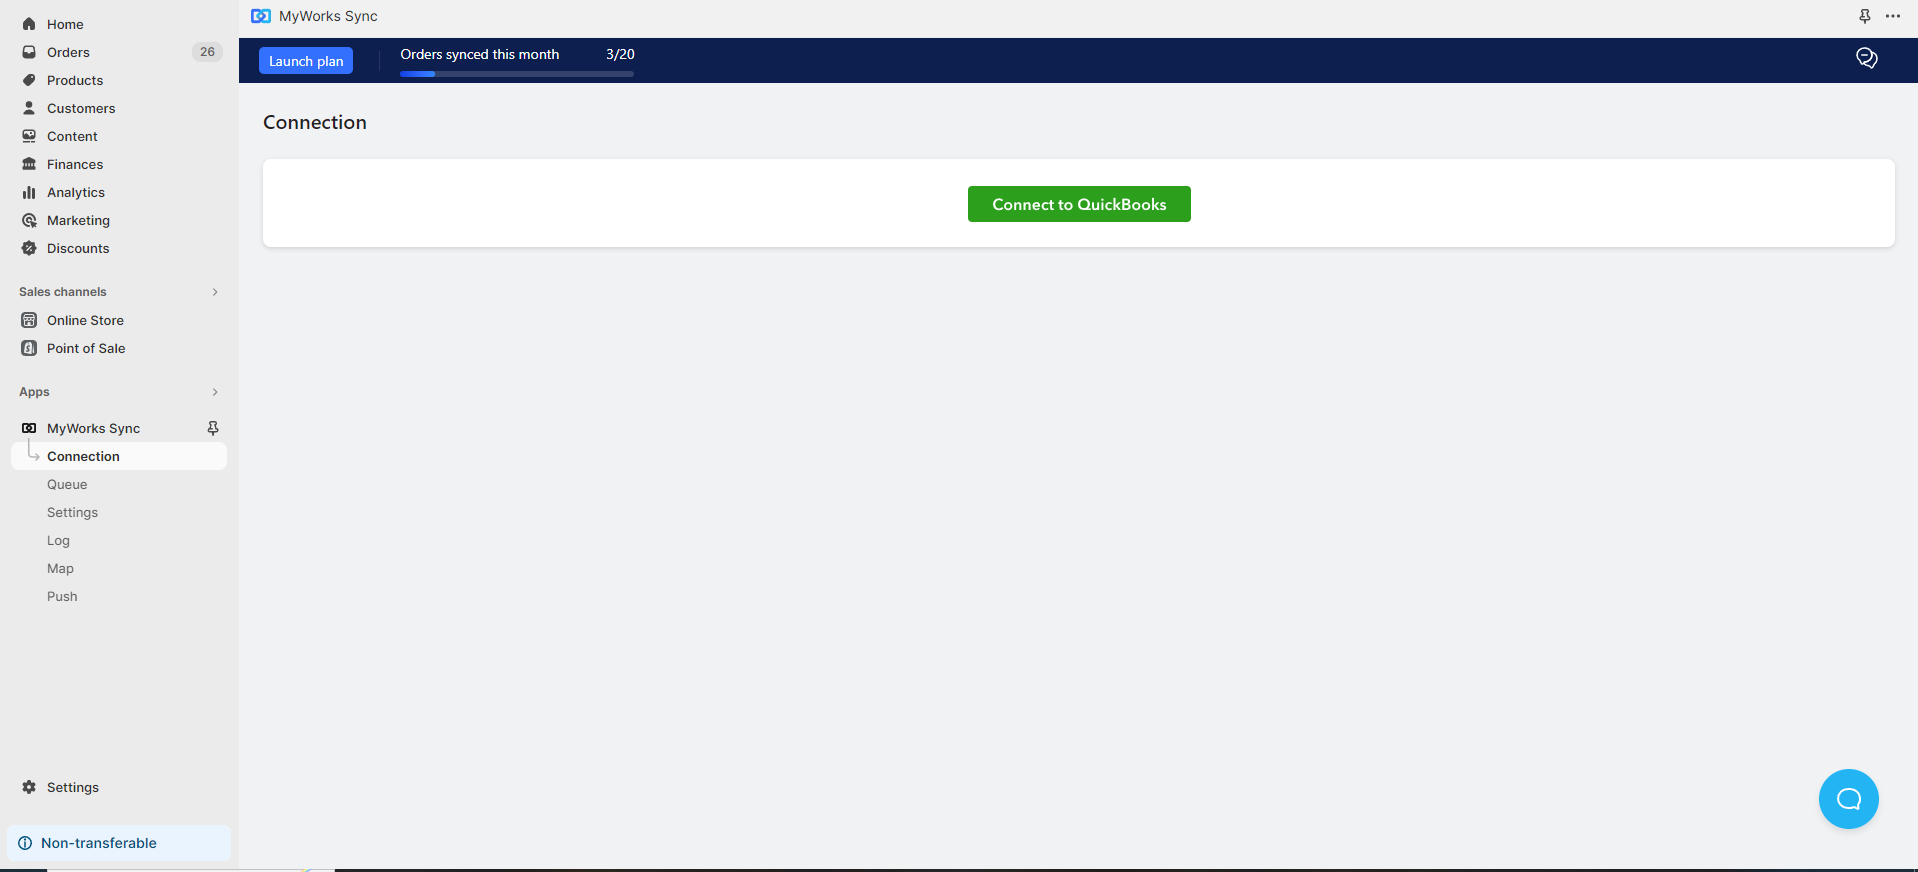
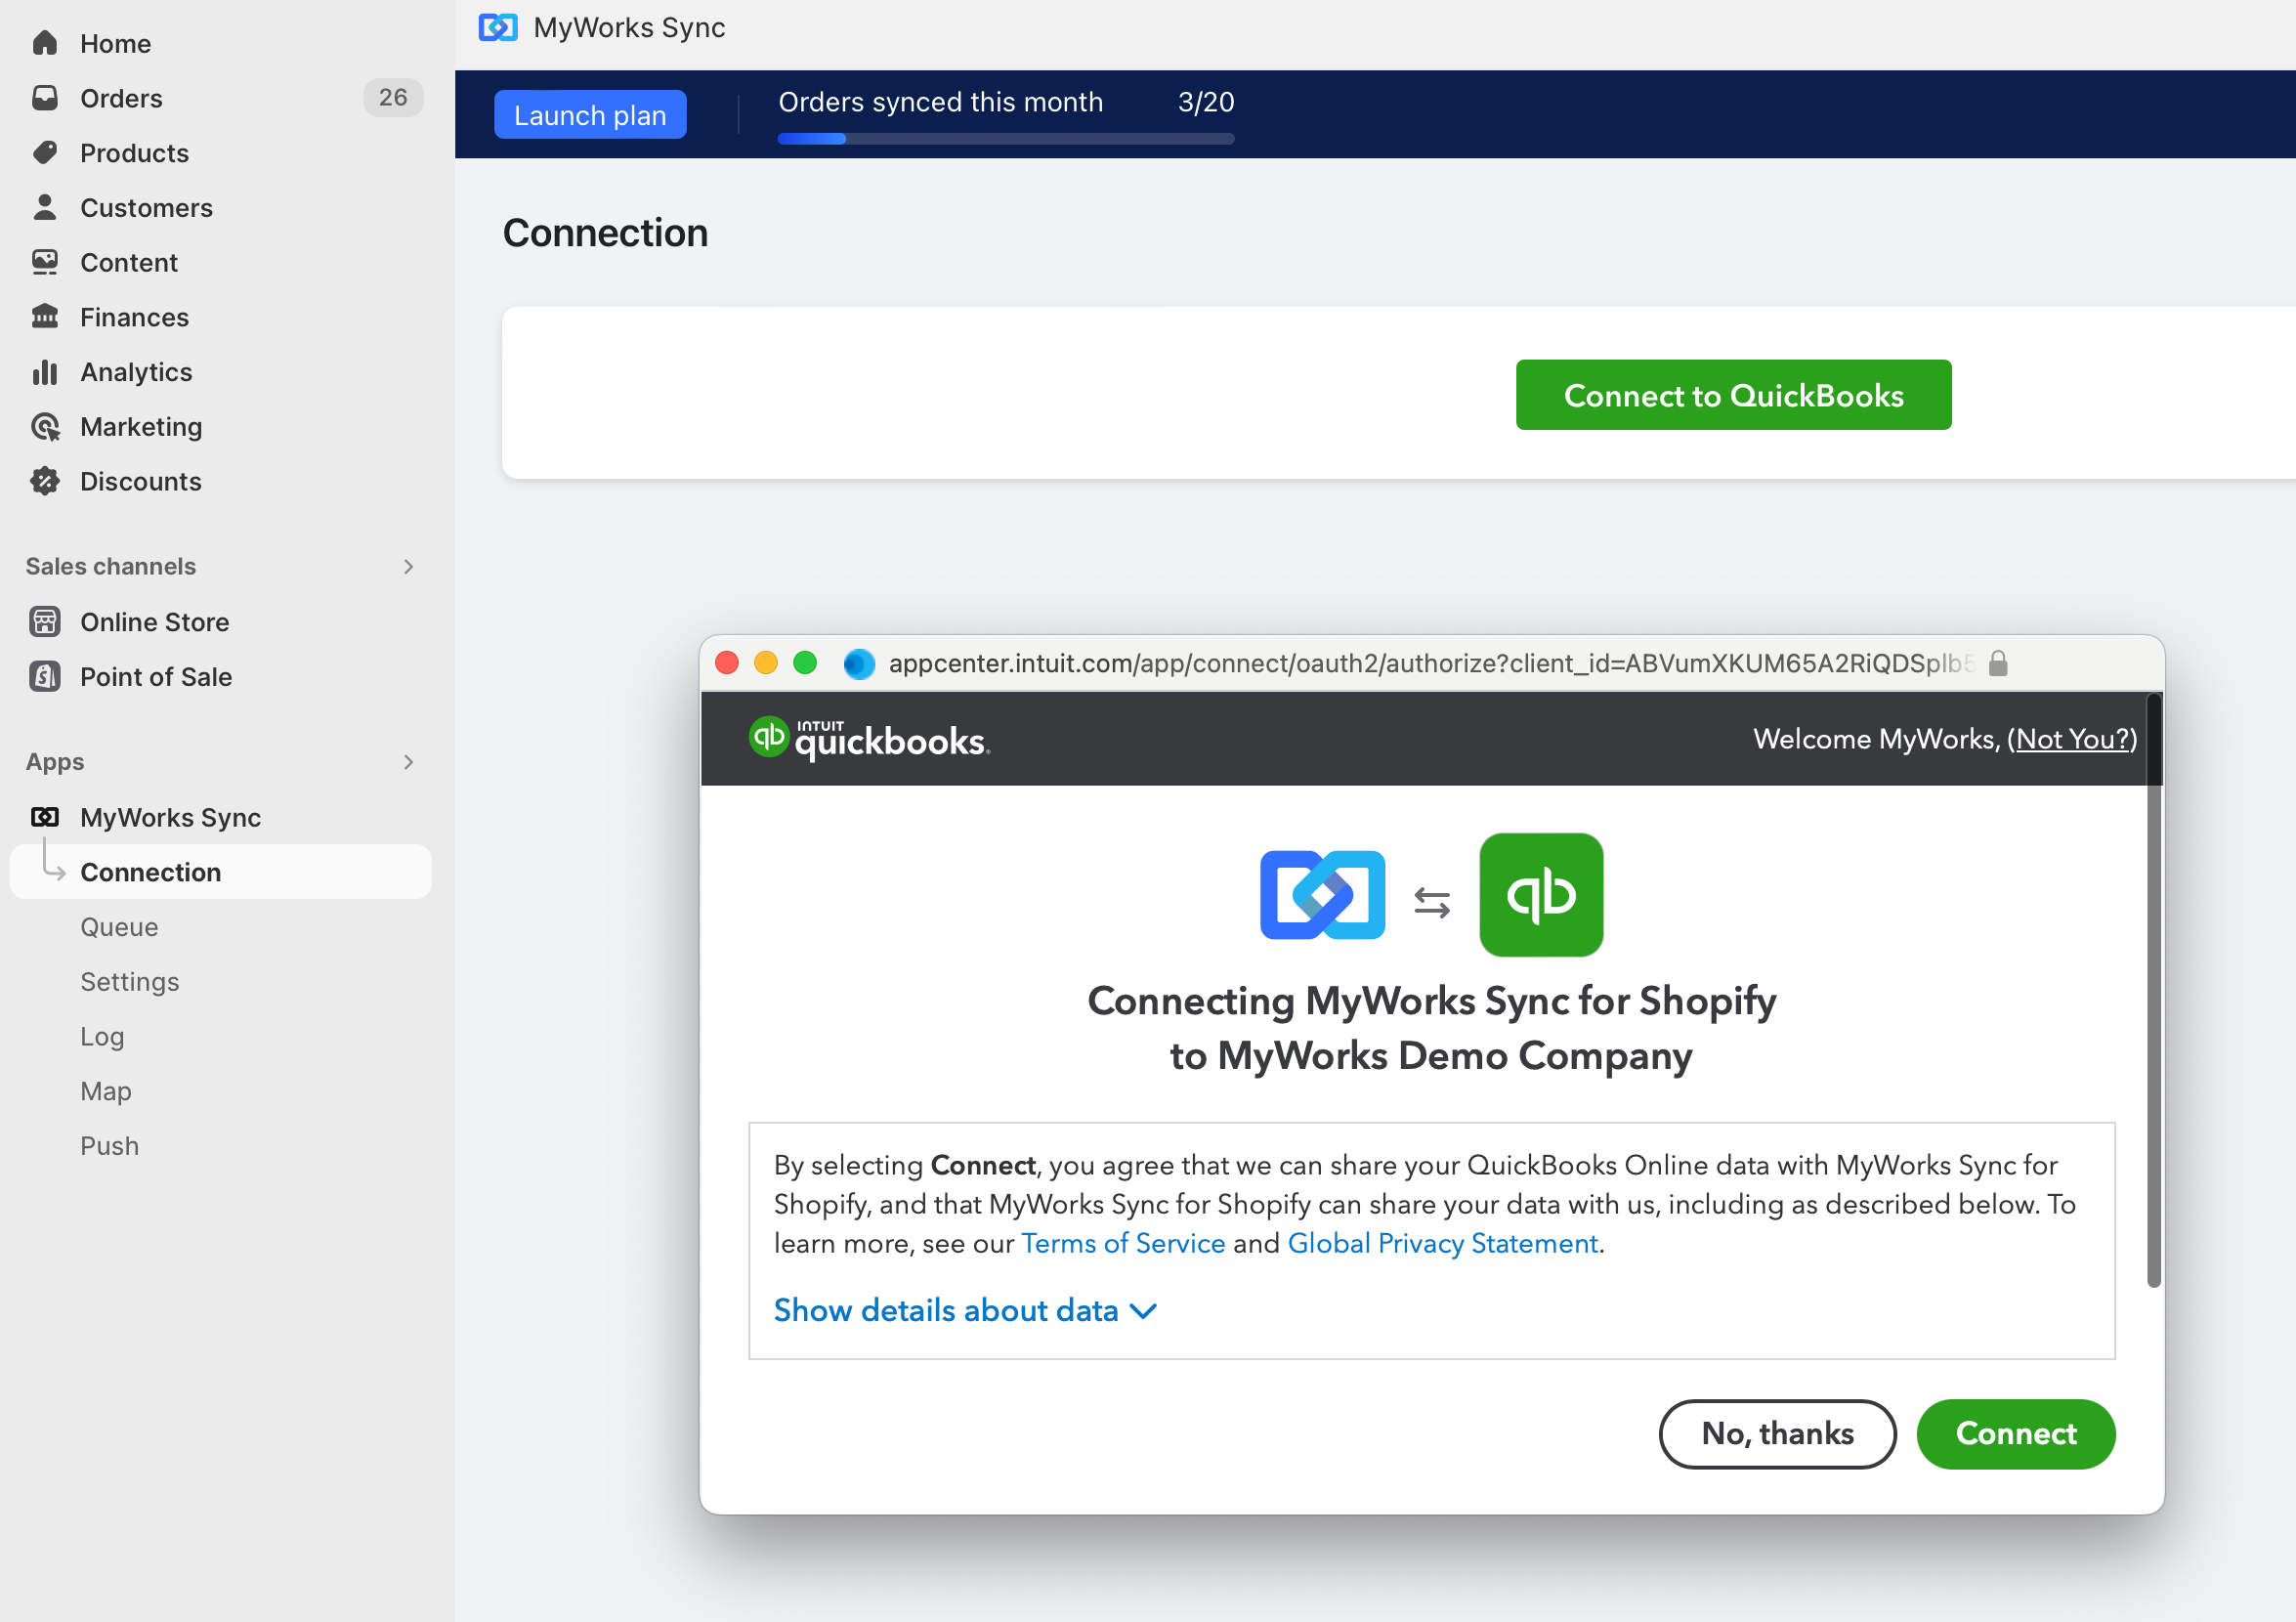
Once added to your Shopify store, visit MyWorks Sync > Connection and click the Connect to QuickBooks button.

In the resulting popup, log into your QuickBooks account, and click Authorize to finish connecting to your QuickBooks Online company.

3. Let's get syncing!
Now that you're connected to QuickBooks Online, MyWorks will begin syncing, but we'll only sync your new customers & orders automatically.
- Past orders will not sync automatically. They can be easily pushed to QuickBooks by visiting MyWorks Sync > Push > Orders.
- Products, inventory levels, and pricing are not enabled to sync by default, to preserve your data. These can be easily enabled in MyWorks Sync > Settings > Automatic Sync.
Managing Settings
You can control how MyWorks syncs and what we sync in the Settings menu under MyWorks.
- In the Default menu, manage the default product we use when syncing orders, and the default QuickBooks accounts we use when syncing products.
- In the Order menu, customize how we sync orders with QuickBooks Online
- In the Automatic Sync menu, customize what new data is automatically synced: from customers & orders to products, inventory levels, and pricing.
Payment Methods
This lets you control the details of payments we sync to QuickBooks Online for your Shopify orders. You can manage these for each payment method enabled in your Shopify settings.
- QuickBooks Online Payment Method
- QuickBooks Online Bank Account
- Syncing the transaction fee as a line item
- QuickBooks Online Terms

Managing Mappings
You can further control how MyWorks syncs your data by mapping your customers, products, and payment methods in the Map menu under MyWorks.
Customers
It's not a requirement to map your Shopify customers to existing customers in QuickBooks, as as long as their name or email matches; we'll automatically find them when syncing an order. This area is best used to act as an override: mapping a Shopify customer to a QuickBooks customer that might not contain a matching email/name, but still one you want their future orders to sync to.
Products & Variations
If your products are in both Shopify and QuickBooks, they should be mapped together here, to control two areas:
- Syncing orders from Shopify to QuickBooks: this will determine the QuickBooks products used in the line items of the order we create in QuickBooks.
- Syncing inventory between Shopify and QuickBooks: this determines which products we'll sync inventory between.
Products can be mapped together in two ways:
- Manually: Selecting the matching QuickBooks product in the dropdown.
- Using our Automap tool: To automatically match together any products with a matching name or SKU.
Collections
Lets you map Shopify Collections directly to either a QuickBooks Product/ QuickBooks Class or QuickBooks Location
Custom Fields
Certain MyWorks Sync plans include support for mapping custom fields between Shopify and QuickBooks Online, our support team should be contacted directly with the particulars of your request.
