Congrats on taking the first step to automatically sync your WooCommerce store with QuickBooks Online using MyWorks Sync! This doc will take you through the easy steps of setting up MyWorks Sync for the first time and help you get started.
- Note: We recommend you check out our Tips before you install - before getting started below.
Check out our Setup Video that also reviews the below steps!
1. Signup for MyWorks & Connect to QuickBooks
Visit the MyWorks Plans page to sign up for a plan, or log into your account at https://dash.myworks.software/login if you've already signed up.
- Visit your plan in your account with us, and enter your WooCommerce store URL.
- Then, click the Connect to QuickBooks button to connect to your QuickBooks company. Log into your QuickBooks account and click Connect to finish connecting your site!

2. Activate MyWorks on your store
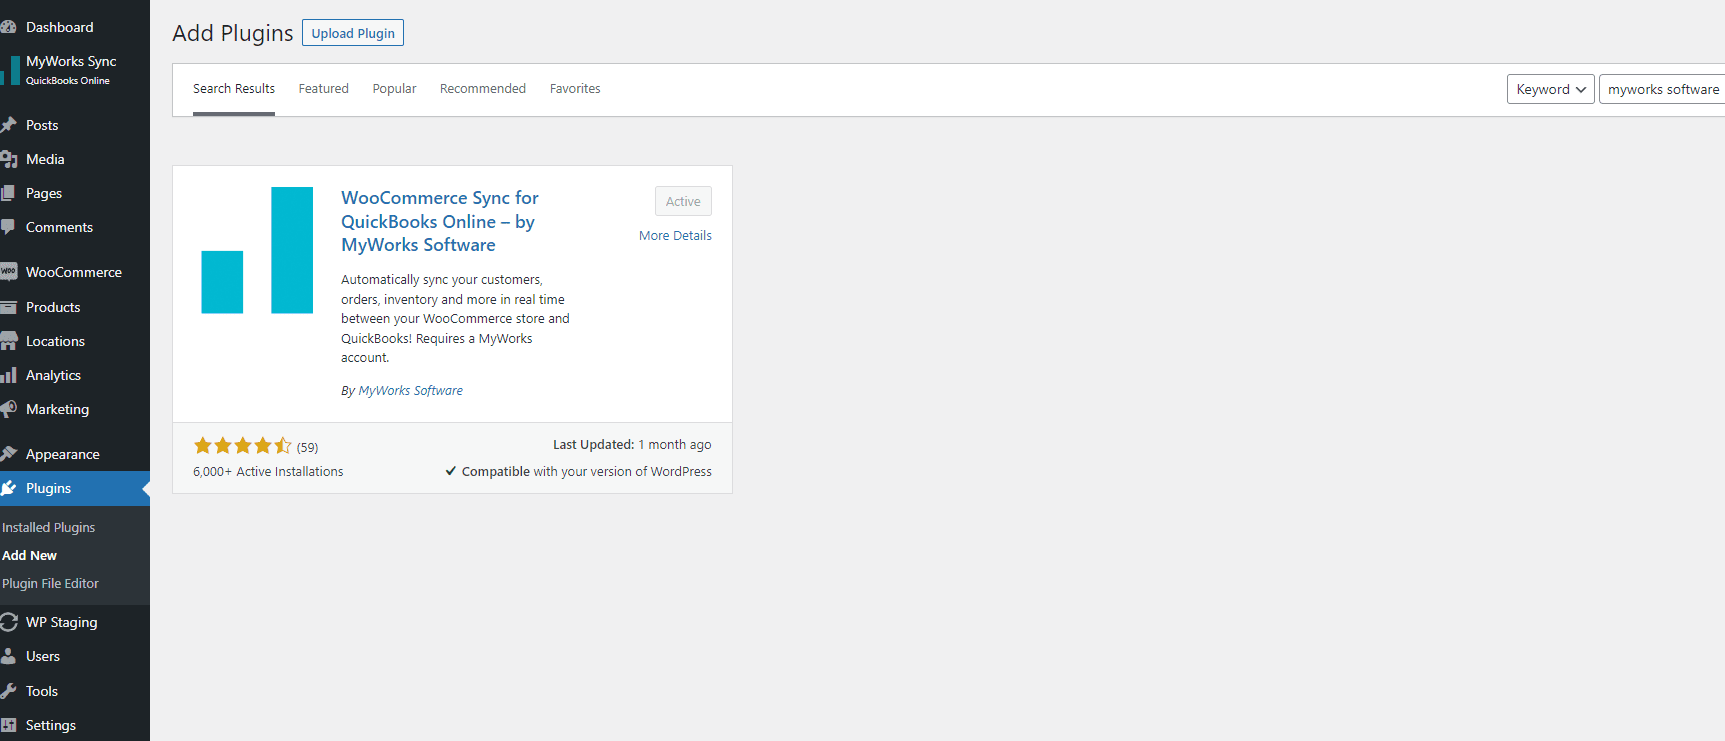
Next, it's time to add our helper plugin to your WooCommerce Store. If you haven't installed it yet, it's easy to find in Plugins > Add New in your store - by searching for "QuickBooks" or "MyWorks". (Or, you can download the .zip file from within your account with us.
Once activated, visit MyWorks Sync > Connection in your WooCommerce Admin area and enter your license key from your MyWorks Plan, and save.

3. Set Default Settings
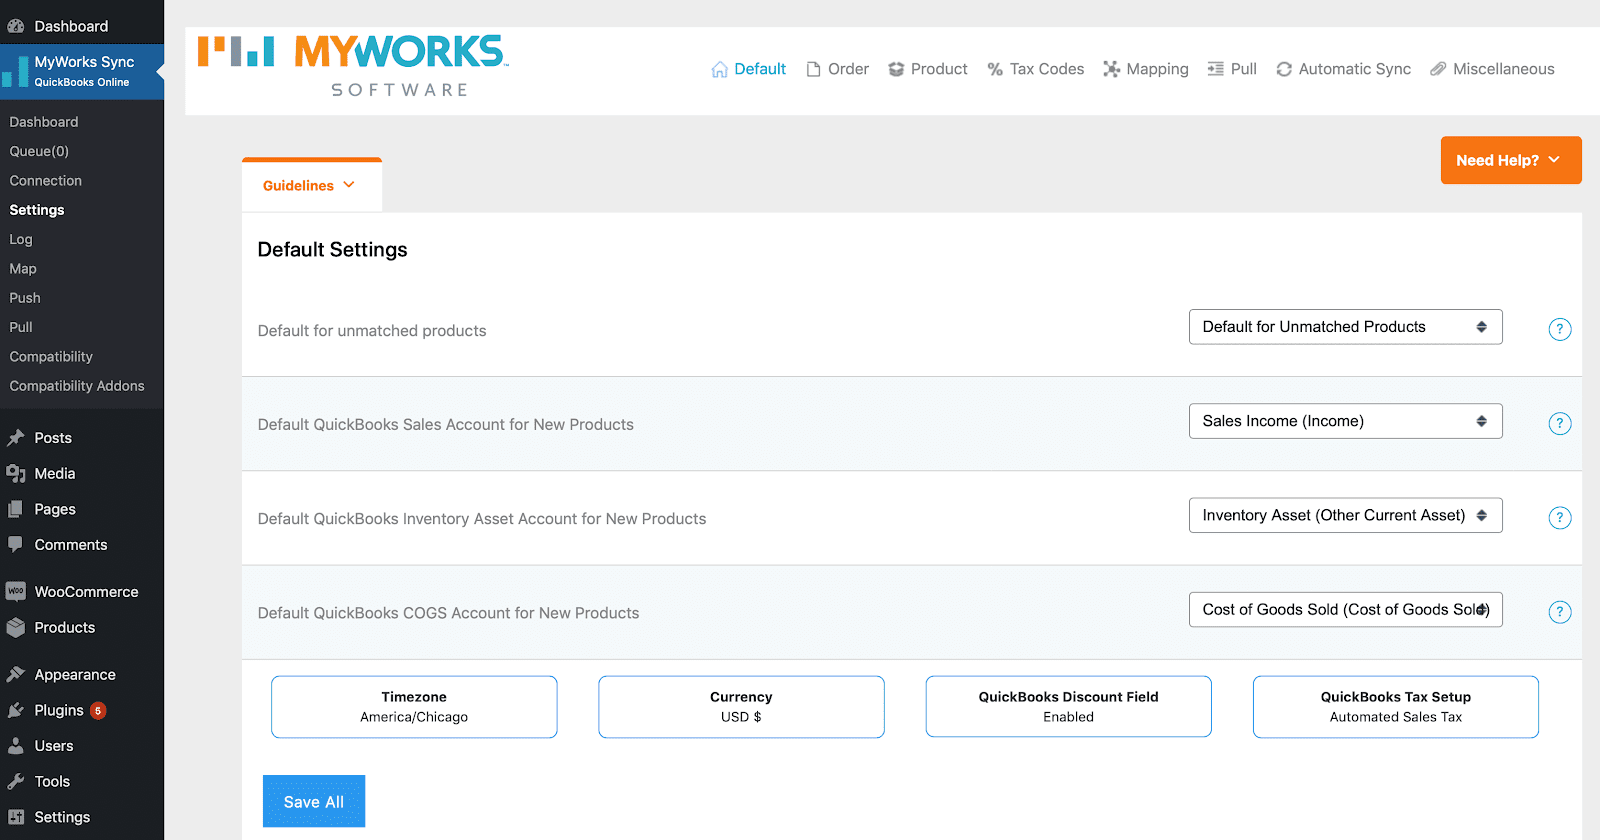
Now that you're connected to QuickBooks Online, it's time to review your settings! Some settings will be automatically set for you.

4. Map existing data
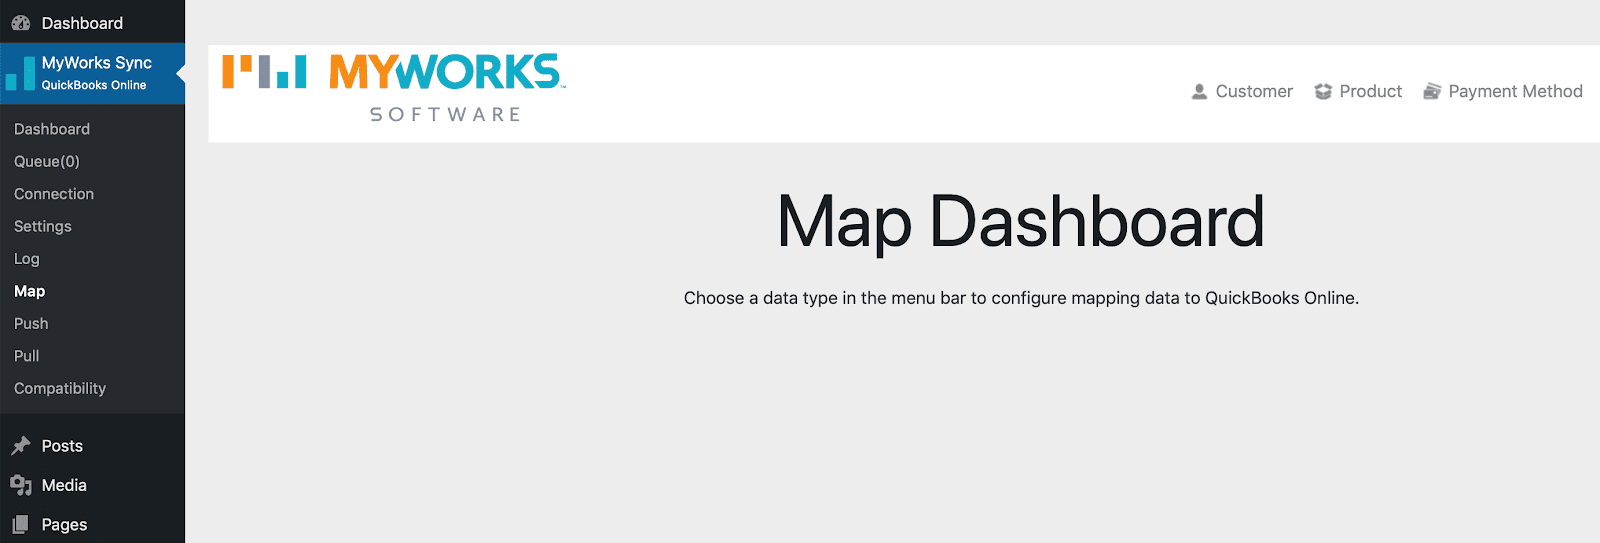
Now that your settings are confirmed, the last step is to map any existing customers, products, and payment methods! For your customers and products, you need to map any that exist in both WooCommerce and QuickBooks. For more information on mapping data, read our Mapping Documentation Page.

Now you're ready to sync!
- Don't forget to keep an eye on your logs in MyWorks Sync > Logs to see the syncing activity. For more information about the Logs, go to our Logging Documentation Page.
- Please familiarize yourself with how we sync to and from QuickBooks Online! To learn more about how syncing works with MyWorks Sync, check out our 'How does syncing work?' documentation page.