By default, MyWorks Sync will sync orders from WooCommerce or Shopify into QuickBooks using the WooCommerce or Shopify order ID/Number as the Invoice/Sales Receipt number in QuickBooks.
Additionally, if you're using a custom order number in WooCommerce or Shopify, MyWorks can be set to use this number instead.
However, if it's necessary to sync orders into QuickBooks using the next available number in QuickBooks, we have an advanced setting that supports syncing orders into QuickBooks using the next QuickBooks invoice/sales receipt number. This is especially helpful if other orders are being manually entered in QuickBooks in addition to orders synced from WooCommerce or Shopify.
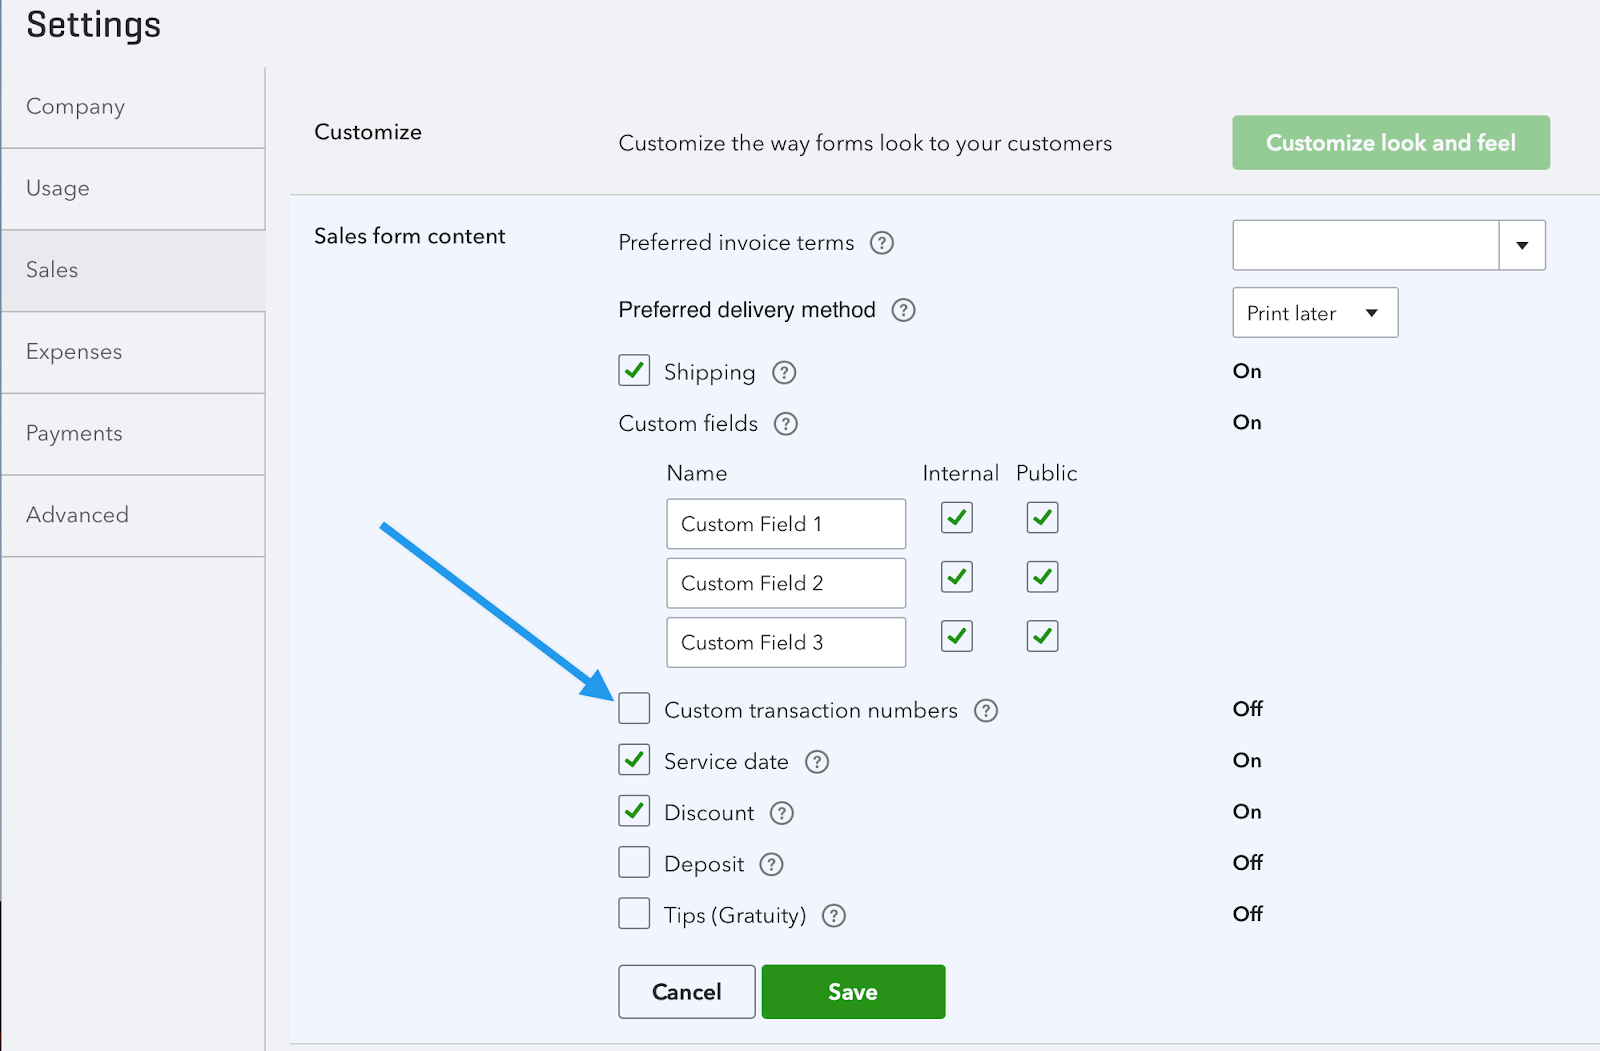
This feature is available in all paid plans and requires the Custom Transaction Number setting (below) in QuickBooks to be off.
Example
- John creates an invoice manually in QuickBooks - after saving, the number is #1261.
- Order #103 is placed in WooCommerce or Shopify, and synced to QuickBooks. The QuickBooks invoice is #1262.
- Sarah creates an invoice manually in QuickBooks - after saving, the number is #1263.
- Order #104 is placed in Shopify or WooCommerce and synced to QuickBooks. The QuickBooks Invoice is #1264.
Setup steps
- In order to enable this setting in MyWorks Sync, the Custom Transaction Numbers setting in QuickBooks Company Settings must first be turned off. Before doing so - we recommend first ensuring that the most recent order in QuickBooks does have the correct number you'd like to start using sequentially.

- In your WooCommerce or Shopify admin area, visit MyWorks Sync > Settings > Orders, and enable the Use Next QuickBooks # setting.
Any orders synced to QuickBooks from this point forward will follow the next QuickBooks number as the order is created in QuickBooks.
Common Questions
- The Custom Transaction Numbers setting in your QuickBooks Company Settings must first be turned off in order to see/enable this setting in MyWorks Sync.
- Is the number sequence in QuickBooks not what's expected when syncing your first orders? Creating a manual invoice/sales receipt in QuickBooks and setting the first number you'd like to use should "force" QuickBooks to re-start the number sequence using that number.
- With this setting enabled, WooCommerce or Shopify orders will not have the same numbers as QuickBooks invoices/sales receipts. (our support team can help custom map the WooCommerce order number to a different field in the QuickBooks order, however - to help keep that number available in the QuickBooks order for reference)
- Our "sync status" badges will still correctly function with this setting enabled - as the QuickBooks ID of the invoice/sales receipt is stored in the WooCommerce order meta for us to use when checking sync status.
- The "sync status" for past orders synced before this setting was enabled may change to show as not synced in WooCommerce or Shopify - even though the order itself is in QuickBooks. This is normal and can be ignored.