Automatic refund syncing is enabled by default in WP-Admin>MyWorks Sync>Map>Payment Methods>Enable Refund Syncing.
MyWorks Sync has made managing refunds issued in WooCommerce very easy to sync to QuickBooks Online.
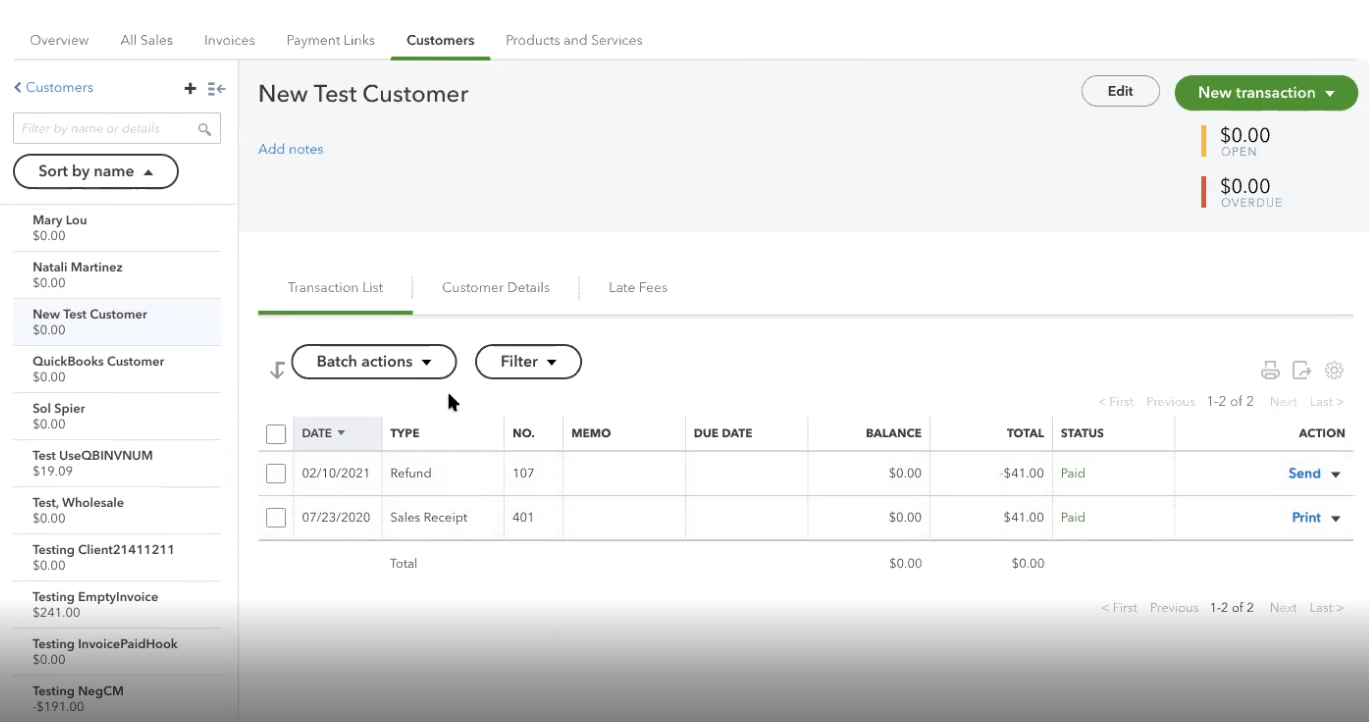
When a refund is issued in WooCommerce, MyWorks will sync a separate transaction (a Refund Receipt) into QuickBooks. This will be tied to the QuickBooks Online Bank Account specified in our Payment Method Mappings [WP-Admin>MyWorks Sync>Map>Payment Methods].

Syncing refunds automatically or manually
MyWorks Sync enables automatic refund syncing by default when our sync is activated. Creating a refund in WooCommerce would result in MyWorks Sync automatically syncing that refund to QuickBooks for you.
To disable this and opt to select which refunds you wish to sync to QuickBooks is also possible.
You would visit the Payment Method in question in WP-Admin>MyWorks Sync>Map>Payment Methods and switch the "Enable refund syncing" switch to the off position and be sure to hit save.
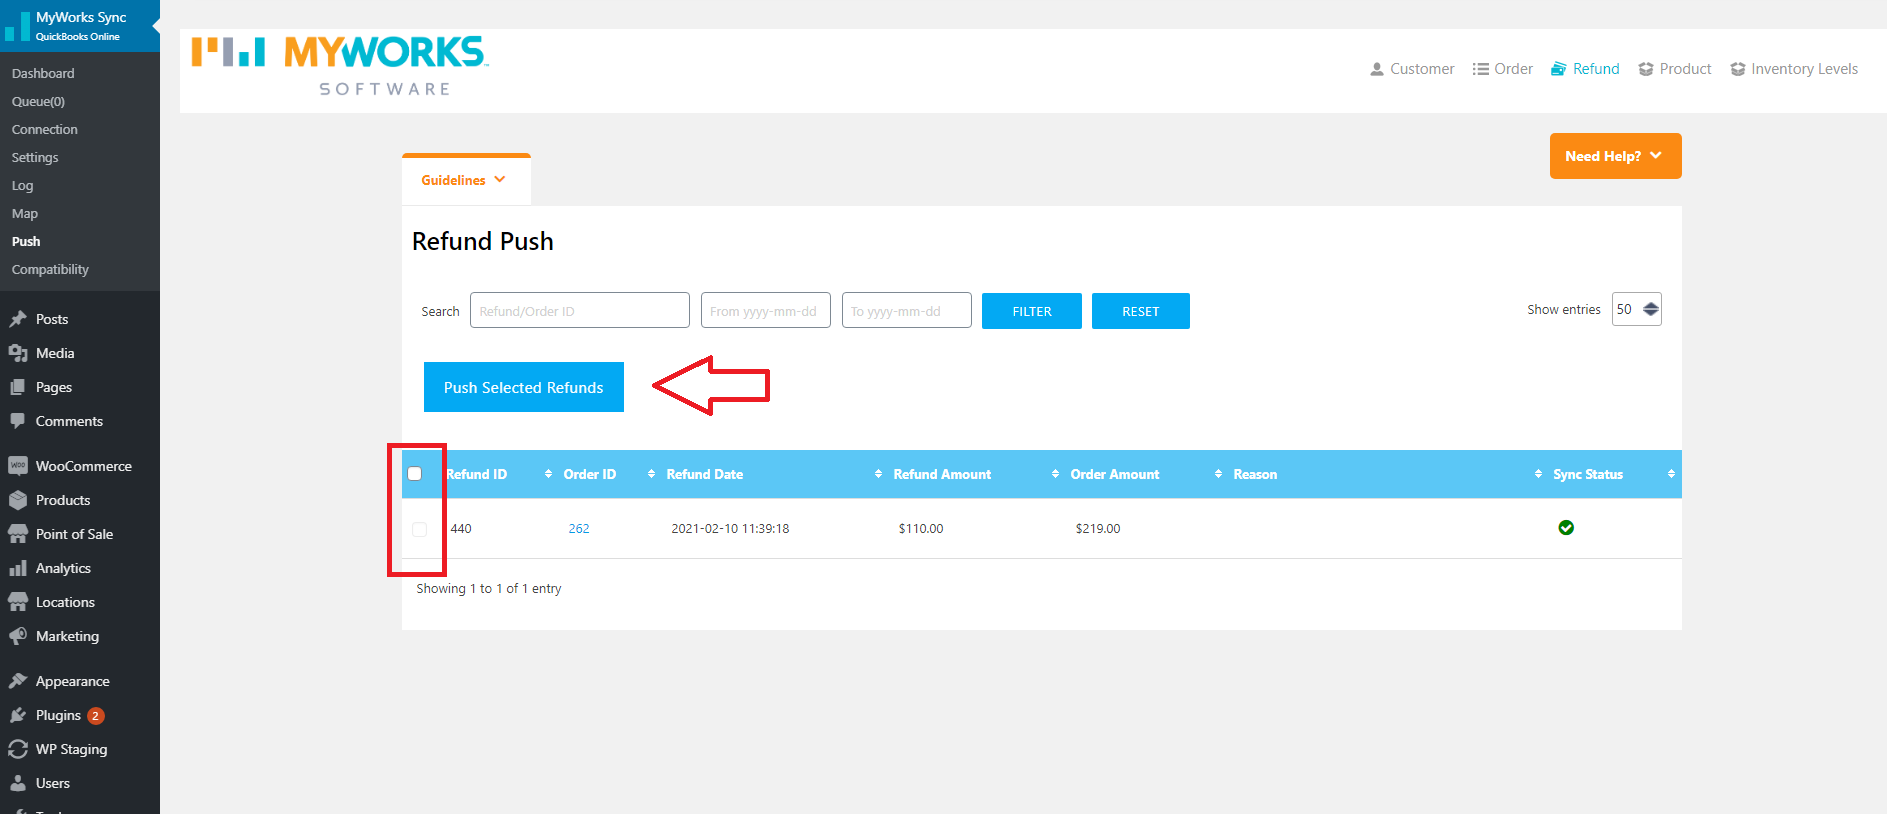
Moving forward, you can navigate to WP-Admin>MyWorks Sync>Push > Refunds and manually select which refunds you wish to push to QuickBooks, followed by "Push Selected Refunds."

Accurately recording the refund in WooCommerce
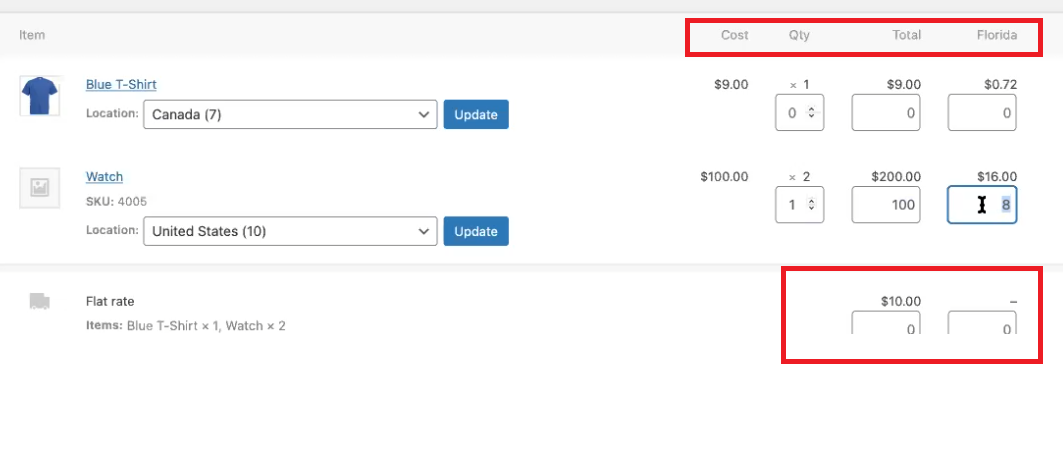
It's essential, when issuing a refund in WooCommerce, to ensure that you are correctly completing the Qty, Total, Sales Tax & Shipping fields accurately, as MyWorks Sync will always honor these values when syncing that refund receipt to QuickBooks. Entering these values correctly when issuing a refund in WooCommerce ensures this refund is synced to QuickBooks accurately.

Inventory Handling
If you are using MyWorks Sync to sync inventory, setting the Qty field correctly in the WooCommerce refund, and having your products mapped accurately in the Map dashboard would ensure that the inventory is returned to stock in QuickBooks as the refund is synced.